Push Button
A momentary tactile switch (SPST, normally open) whose contacts close only while the plunger is pressed, used as a simple digital input for microcontrollers.
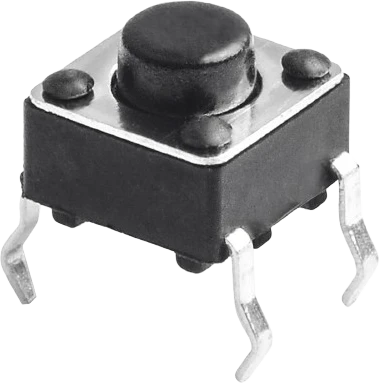
What is the Push Button?
A push button of this type is a 6x6mm through-hole tactile switch. Its contact form is SPST-NO (single pole, single throw, normally open), so the internal contacts are open at rest and close only for as long as you hold the plunger down. Releasing the button opens the circuit again, which is what makes it momentary rather than latching.
The part has four terminals arranged as two pairs. The two pins on one side are permanently joined into a single terminal (labeled A1 and A2 here), and the two pins on the other side form the second terminal (B1 and B2). Pressing the button bridges the A pair to the B pair. Because two of the four legs are always electrically common, you must connect your circuit across an A pin and a B pin, not across two pins of the same pair.
The contacts are signal-level rated (roughly 1 to 50 mA at 3 to 24 VDC on the canonical Omron B3F datasheet for this form factor), so the switch is meant for logic inputs, not for switching motors or lamps directly. Contact bounce of up to about 5 ms per actuation and a light operating force near 1 N (about 100 gf) are typical, with mechanical life on the order of one million operations.
Push Button pinout
| Pin | Function | Type |
|---|---|---|
A1 A1 | Passive | Passive |
A2 A2 | Passive | Passive |
B1 B1 | Passive | Passive |
B2 B2 | Passive | Passive |
Specifications
- Dimensions
- 6 × 6 × 5 mm
Verified from the Tinkered component library.
Circuit requirements
- The switch is SPST normally open: it only conducts while held, so it does not by itself set a defined logic level when released.
- Give the input pin a known idle state with a pull-up or pull-down resistor (commonly 10k), or use the microcontroller's internal pull-up (INPUT_PULLUP on Arduino). Without it the pin floats and reads random noise.
- Wire the button across one A terminal and one B terminal. Connecting across A1-A2 (or B1-B2) shorts an already-common pair, so the button appears permanently closed and does nothing. Using diagonally opposite pins is a foolproof way to land on the two different terminals.
- Contacts bounce for up to a few milliseconds per press, generating several fast transitions. Debounce in software (short delay or state machine) or in hardware (RC filter into a Schmitt-trigger input) so one press counts once.
- Do not put the button directly between VCC and GND with no resistor: pressing it would short the supply. The pull resistor also serves as the current path that prevents this.
- Contacts are rated for milliamp signal loads only. To switch a relay, motor, LED string, or other heavier load, use the button to drive a transistor or MOSFET rather than passing the load current through the switch.
Common Push Button mistakes
Leaving the input floating
With no pull-up or pull-down, the pin reads unpredictable values when the button is released. Add a 10k resistor or enable the internal pull-up so the released state is well defined.
Wiring across a common pair
The two legs on the same side are internally connected. If you place the button across A1-A2 (or B1-B2), that node is always closed and the button never changes state. Connect across an A pin and a B pin instead, ideally the diagonal legs.
Not debouncing
Mechanical contacts bounce for a few milliseconds, so a single press can register as many rapid presses. Add software or hardware debouncing before counting or toggling on the input.
Shorting the supply through the button
Connecting the button straight from VCC to GND without a resistor creates a dead short when pressed. Always include the pull resistor that both sets the idle level and limits the current.
Switching heavy loads directly
The contacts are rated for small signal currents. Passing motor, relay, or high-current LED loads through the switch causes arcing and contact wear. Use the button to control a transistor or MOSFET that carries the real load.
More passives & discretes

resistor-220220Ω Resistor
Custom resistance values supported

resistor-1k1kΩ Resistor
Custom resistance values supported

resistor-10k10kΩ Resistor
Custom resistance values supported
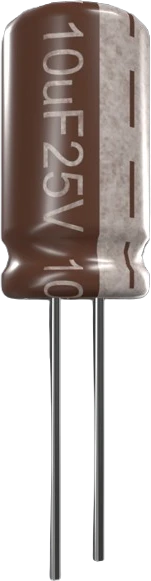
capacitor-ceramic100nF Ceramic Capacitor
Custom capacitance values supported
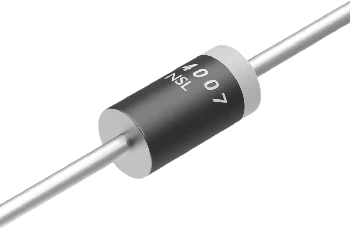
diode-1n40071N4007 Diode
General-purpose rectifier
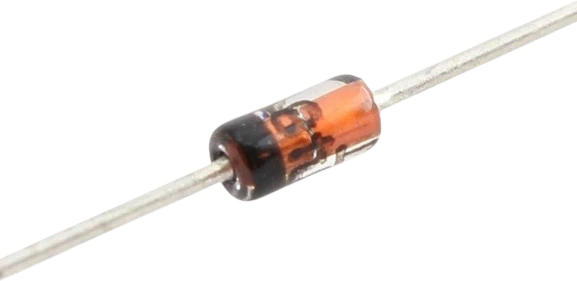
diode-1n41481N4148 Diode
Fast switching diode
Build with the Push Button.
Drop the Push Button into a circuit, write firmware, and simulate it in your browser, then deploy to real hardware. All in one editable Tinkered project.