BH1750 Light Sensor with a Raspberry Pi Pico
A digital ambient light sensor that reports illuminance straight in lux, 1 to 65535 lx, over I2C.
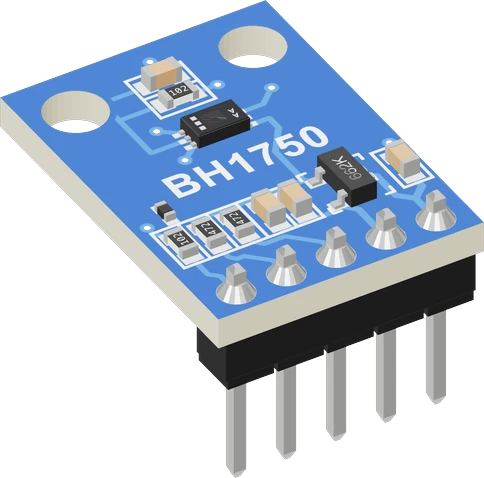
The BH1750 light sensor (GY-302 module) connects to the Raspberry Pi Pico's default I2C0 bus, SDA on GP4 and SCL on GP5, powered from 3V3. The bare chip is a 2.4 V to 3.6 V part, so the Pico's 3.3 V rail suits it directly and its pull-ups stay at the Pico's logic level.
Wiring the BH1750 Light Sensor to the Raspberry Pi Pico
Pin by pin.
| BH1750 Light Sensor | Raspberry Pi Pico |
|---|---|
| VCC | 3V3 |
| GND | GND |
| SDA | GP4 |
| SCL | GP5 |
What to know on the Raspberry Pi Pico
- The BH1750 chip runs from 2.4 V to 3.6 V and draws 120 µA typical while measuring, so it costs almost nothing of the 300 mA budget Raspberry Pi gives the 3V3 pin.ROHM BH1750FVI datasheet Rev.D, pp. 1, 2; Raspberry Pi Pico datasheet, release 21, p. 8
- Leave ADDR unwired for 0x23, the address the sketch passes to begin(). For a second sensor, ADDR goes to 3V3 for 0x5C, never to VBUS.ROHM BH1750FVI datasheet Rev.D, p. 10
- The sketch calls Wire.begin() itself because the library does not; on arduino-pico that starts I2C0 on GP4 and GP5. To move the bus, call Wire.setSDA() and Wire.setSCL() first.arduino-pico core documentation (Earle Philhower), Wire
- In continuous high-resolution mode a new reading comes every 120 ms, so the sketch checks measurementReady() before readLightLevel().ROHM BH1750FVI datasheet Rev.D, pp. 2, 5
BH1750 Light Sensor code for the Raspberry Pi Pico
Compiled for rp2040:rp2040:rpipico on 2026-10-30.
// BH1750 Light Sensor on Raspberry Pi Pico: wiring and a free simulation at https://www.tinkered.ai/components/bh1750/raspberry-pi-pico
#include <Arduino.h>
#include <Wire.h>
#include <BH1750.h>

BH1750 lightMeter;   // ADDR unwired: 0x23

void setup() {
  Serial.begin(115200);
  Wire.begin();
  // the address goes to begin(): its own argument (0x23 by default) overrides the constructor's
  if (!lightMeter.begin(BH1750::CONTINUOUS_HIGH_RES_MODE, 0x23)) {
    Serial.println("BH1750 not found: check VCC, SDA/SCL and ADDR");
    while (true) delay(10);
  }
}

void loop() {
  if (lightMeter.measurementReady()) {
    float lux = lightMeter.readLightLevel();
    Serial.print("Light: ");
    Serial.print(lux, 1);
    Serial.println(" lx");
  }
  delay(200);
}
BH1750 Light Sensor on the Raspberry Pi Pico: questions
Do I power the BH1750 from 3V3 or VBUS on a Pico?
3V3. The chip is rated 2.4 V to 3.6 V (ROHM datasheet, p. 1), and on 3V3 the module's pull-ups hold SDA and SCL at the Pico's 3.3 V level.
Why does begin() fail on my Pico?
Check SDA on GP4 and SCL on GP5, then the address: with ADDR unwired it is 0x23, with ADDR high 0x5C (ROHM datasheet, p. 10). Pass that address to begin().
Can I use two BH1750 sensors with one Pico?
Yes: wire one ADDR to 3V3 for 0x5C, keep the other at 0x23, and create two BH1750 objects, each begin() given its address.
Keep going
This guide as plain Markdown. /components/bh1750/raspberry-pi-pico.md